
JESIN® Gießpulver – DIY Heimdeko selbermachen mit Silikonformen
Entdecke jetzt auch für dich die wahrscheinlich cleverste Gießmasse der Welt – für DIY-Deko, Designobjekte & kreative Serien.


JESIN® Gießpulver – einzigartig, bruchsicher, Made in Germany
- Stärker & langlebiger als klassisches Gießpulver – weniger Bruch, saubere Kanten, farbige Ergebnisse.
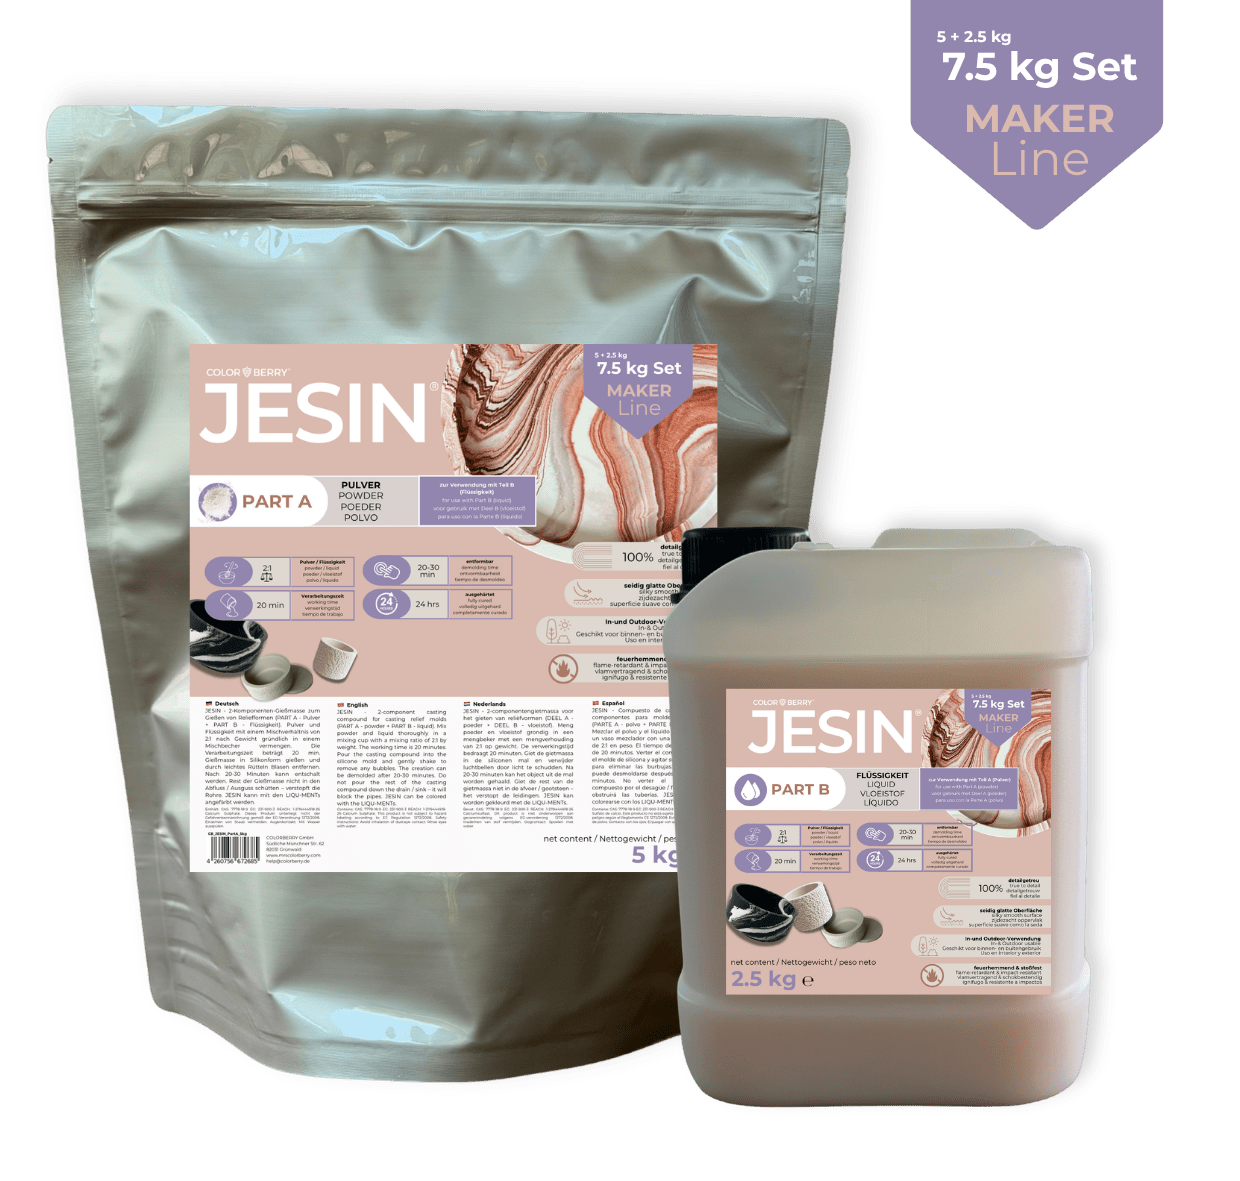
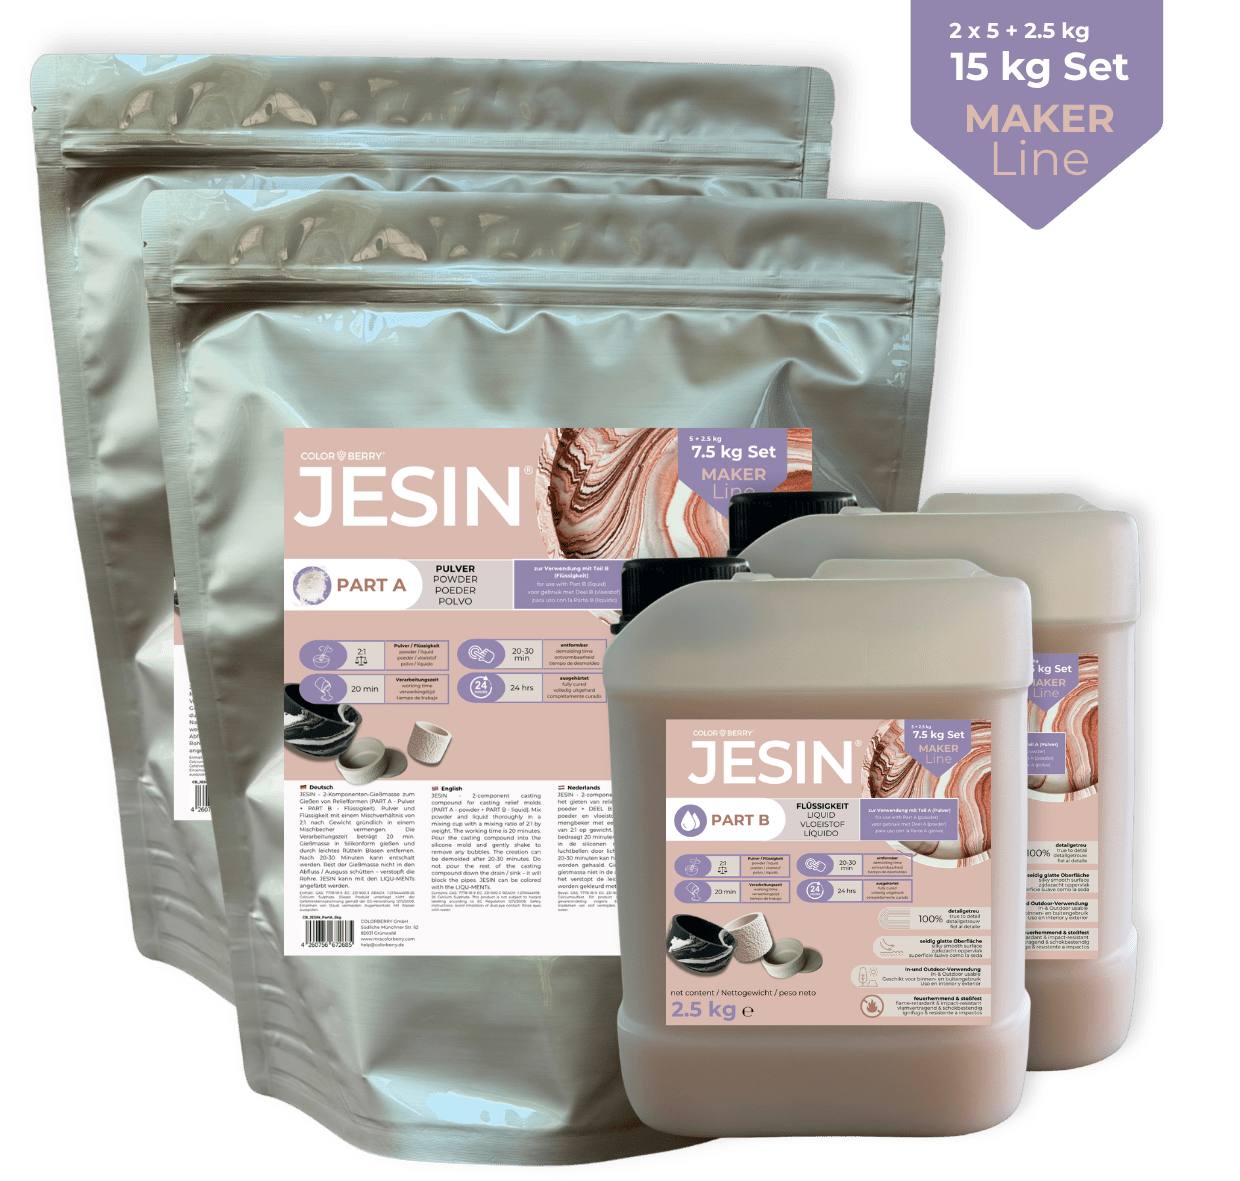
- Einfach 2:1 mischen (nach Gewicht) – cremige Konsistenz, perfekte Viskosität für Marmor-Optik.
- Feiner Look statt Beton-Optik – glatte Oberfläche, perfekt für moderne Home-Deko - Luxus-Look!
- Nach 20 Minuten entformbar Lange Verarbeitungszeit - schnelles Aushärten - genial !
- Regulärer Preis
-
€89,99 - Regulärer Preis
-
€99,98 - Verkaufspreis
-
€89,99
✓ Sofort versandbereit
✓ Made in Germany
✓ 820+ echte Bewertungen verfügbar
✔️ Produkt-Info
Der ultimative Gießspaß mit JESIN!
Dieses Material zeigt dir neue, umweltfreundliche und moderne Möglichkeiten des Gießens in Silikonformen. Jesin ist eine hochwertige, fast seidenweiche Gipsgießmasse, die nicht nur superleicht zu verarbeiten ist, sondern dir auch viel mehr Farb- und Gestaltungsmöglichkeiten bietet als herkömmliche Gipsmassen.
JESIN ist eine Gießmasse bestehend aus einem Pulver und einer Flüssigkeit (wasserbasiertes Acrylharz) und bietet Dir unzählige Möglichkeiten der Verarbeitung.
Dir stehen viele Gestaltungsmöglichkeiten zur Verfügung: Marmor-Optik, Terrazzo, Sprenkel-Optik, Colorblocking, Punkttechnik, … uvm.
✅ WIE FUNKTIONIERT ES?
1. Pulver und Flüssigkeit einfach mischen (2:1 nach Gewicht - 2 Teile Pulver + 1 Teil Flüssigkeit)
2. wenn du Farbe hinzufügen möchtest, verwende einfach die COLORBERRY LIQU-MENTS (ein paar Tropfen genügen, jedoch max. nicht mehr als 5% zur einzufärbenden JESIN-Masse)
3. in eine Silikonform gießen - Verarbeitungszeit 20 Minuten
4. Um die Blasen zu entfernen, kannst du die Silikonform gerne etwas vibrieren lassen und die wenigen Luftblasen, die durch das Rühren entstehen, gelangen an die Oberfläche.
5. warten bis es ausgehärtet ist (ca. 20 min)
6. Aus der Form lösen und weitere 24 Stunden ruhen lassen


Farbsets zum Vorteilspreis | LIQU-MENTs:
-
 Farbset "VELVET EARTH" - 3 x 10 ml LIQU-MENTsFarbset "VELVET EARTH" - 3 x 10 ml LIQU-MENTs
- Regulärer Preis
-
€18,99 - Regulärer Preis
-
€20,97 - Verkaufspreis
-
€18,99
Schnellansicht
-
 Farbset "WARM NUDE" - 3 x 10 ml LIQU-MENTsFarbset "WARM NUDE" - 3 x 10 ml LIQU-MENTs
- Regulärer Preis
-
€18,99 - Regulärer Preis
-
€20,97 - Verkaufspreis
-
€18,99
Schnellansicht
-
 Farbset "BERRY DREAMS" - 5 x 10 ml LIQU-MENTsFarbset "BERRY DREAMS" - 5 x 10 ml LIQU-MENTs
- Regulärer Preis
-
€29,99 - Regulärer Preis
-
€34,95 - Verkaufspreis
-
€29,99
Schnellansicht
-
 Farbset "AUTUMN SOUL" - 3 x 10 ml LIQU-MENTsFarbset "AUTUMN SOUL" - 3 x 10 ml LIQU-MENTs
- Regulärer Preis
-
€18,99 - Regulärer Preis
-
€20,97 - Verkaufspreis
-
€18,99
Schnellansicht
-
 Farbset "MONO CHIC" - 4 x 10 ml LIQU-MENTsFarbset "MONO CHIC" - 4 x 10 ml LIQU-MENTs
- Regulärer Preis
-
€24,99 - Regulärer Preis
-
€27,96 - Verkaufspreis
-
€24,99
Schnellansicht
-
 Farbset "JEWEL GARDEN" - 3 x 10 ml LIQU-MENTsFarbset "JEWEL GARDEN" - 3 x 10 ml LIQU-MENTs
- Regulärer Preis
-
€18,99 - Regulärer Preis
-
€20,97 - Verkaufspreis
-
€18,99
Schnellansicht
-
 Farbset "NEON ENERGY" - 3 x 10 ml LIQU-MENTsFarbset "NEON ENERGY" - 3 x 10 ml LIQU-MENTs
- Regulärer Preis
-
€18,99 - Regulärer Preis
-
€20,97 - Verkaufspreis
-
€18,99
Schnellansicht
-
 Farbset "RETRO SUNSET" - 3 x 10 ml LIQU-MENTsFarbset "RETRO SUNSET" - 3 x 10 ml LIQU-MENTs
- Regulärer Preis
-
€18,99 - Regulärer Preis
-
€20,97 - Verkaufspreis
-
€18,99
Schnellansicht
-
 Farbset "NEON POP" - 3 x 10 ml LIQU-MENTsFarbset "NEON POP" - 3 x 10 ml LIQU-MENTs
- Regulärer Preis
-
€18,99 - Regulärer Preis
-
€20,97 - Verkaufspreis
-
€18,99
Schnellansicht
-
 Farbset "CANDY SUMMER" - 3 x 10 ml LIQU-MENTsFarbset "CANDY SUMMER" - 3 x 10 ml LIQU-MENTs
- Regulärer Preis
-
€18,99 - Regulärer Preis
-
€20,97 - Verkaufspreis
-
€18,99
Schnellansicht
-
 Farbset "NATURE VIBES" - 5 x 10 ml LIQU-MENTsFarbset "NATURE VIBES" - 5 x 10 ml LIQU-MENTs
- Regulärer Preis
-
€29,99 - Regulärer Preis
-
€34,95 - Verkaufspreis
-
€29,99
Schnellansicht
-
 LIQU-MENTs BOX für JESIN – 20 x 10 ml Flüssigfarben Set | viele Farben auf einmalLIQU-MENTs BOX für JESIN – 20 x 10 ml Flüssigfarben Set | viele Farben auf einmal
- Regulärer Preis
-
€79,99 - Regulärer Preis
-
€139,80 - Verkaufspreis
-
€79,99
Schnellansicht


Du willst die Farben lieber einzeln? Ganz nach deinem Geschmack oder Interior?


Zubehör für bestes Gießen mit JESIN - umweltfreundlich und wiederverwendbar
-

 COLORBERRY Tool-Set für JESIN – Silikonbecher 1L & Rührwerkzeuge für GießmassenCOLORBERRY Tool-Set für JESIN – Silikonbecher 1L & Rührwerkzeuge für Gießmassen
- Regulärer Preis
-
€21,99 - Regulärer Preis
-
€0,00 - Verkaufspreis
-
€21,99
Schnellansicht
-

 JESIN SHEASEAL - lebensmittelechte Versiegelung für Gießpulver & JESIN (100g)JESIN SHEASEAL - lebensmittelechte Versiegelung für Gießpulver & JESIN (100g)
- Regulärer Preis
-
€14,99 - Regulärer Preis
-
- Verkaufspreis
-
€14,99
Schnellansicht
-
 JESIN MIXER - Rühraufsatz weissJESIN MIXER - Rühraufsatz weiss
- Regulärer Preis
-
€7,99 - Regulärer Preis
-
- Verkaufspreis
-
€7,99
Schnellansicht
-

 JESIN silicone cups - 2er Set ( 2 x 125 ml)JESIN silicone cups - 2er Set ( 2 x 125 ml)
- Regulärer Preis
-
€7,99 - Regulärer Preis
-
€0,00 - Verkaufspreis
-
€7,99
Schnellansicht
-

 JESIN silicone cups - 2er Set ( 250 +500 ml)JESIN silicone cups - 2er Set ( 250 +500 ml)
- Regulärer Preis
-
€9,99 - Regulärer Preis
-
- Verkaufspreis
-
€9,99
Schnellansicht
-
 MIX-Set High-Shear-Mixer + Silicone Cups für JESINMIX-Set High-Shear-Mixer + Silicone Cups für JESIN
- Regulärer Preis
-
€32,99 - Regulärer Preis
-
€0,00 - Verkaufspreis
-
€32,99
Schnellansicht
-
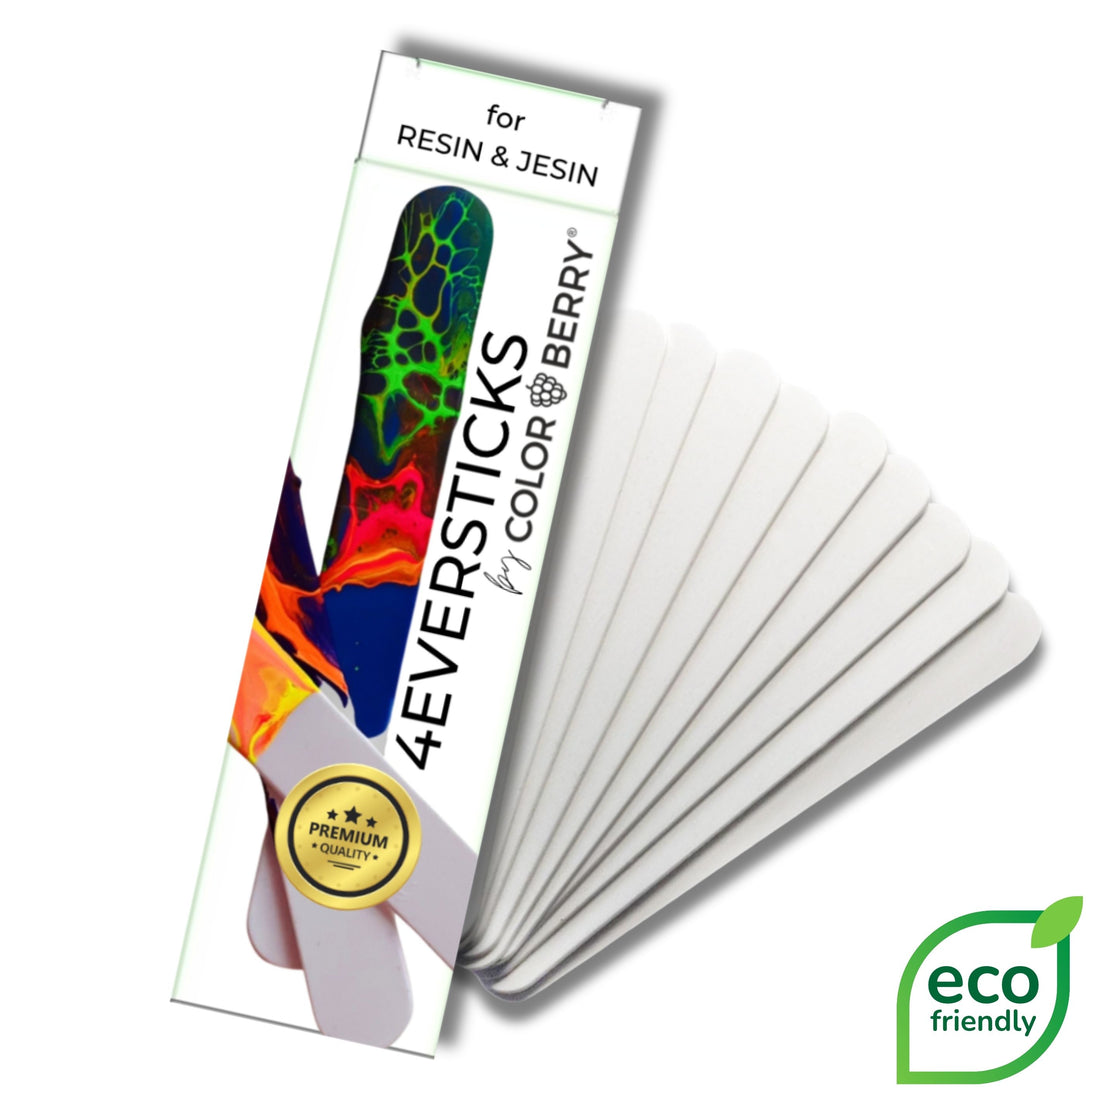
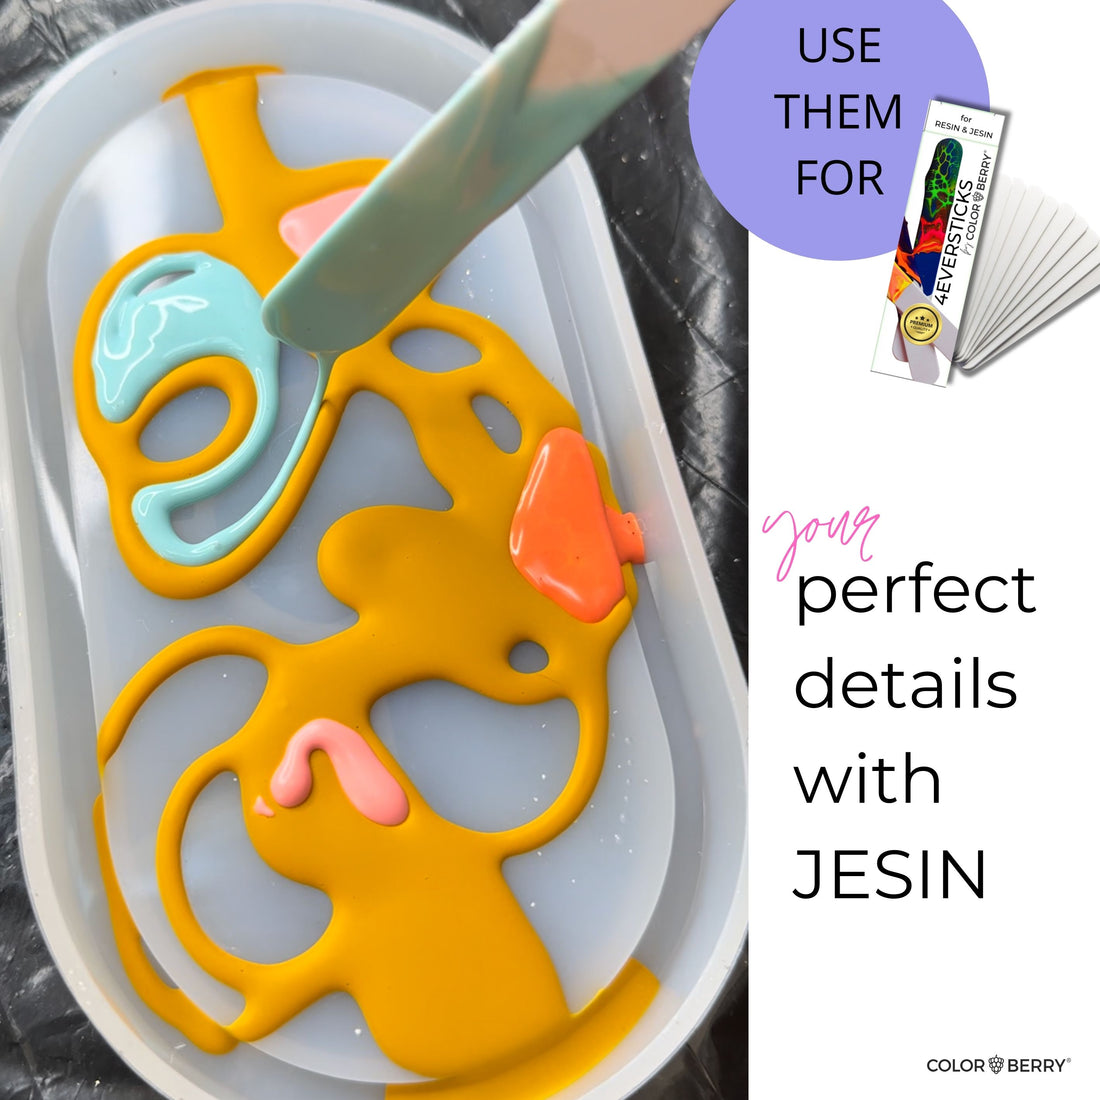 4EVERSTICKS - 25pc4EVERSTICKS - 25pc
- Regulärer Preis
-
€9,99 - Regulärer Preis
-
€0,00 - Verkaufspreis
-
€9,99
Schnellansicht
-

 JESIN sanding sponges - 6er SetJESIN sanding sponges - 6er Set
- Regulärer Preis
-
€8,99 - Regulärer Preis
-
- Verkaufspreis
-
€8,99
Schnellansicht
-

 JESIN silicone matJESIN silicone mat
- Regulärer Preis
-
€9,99 - Regulärer Preis
-
- Verkaufspreis
-
€9,99
Schnellansicht
-

 GOLD FLAKES for JESIN - 50 gGOLD FLAKES for JESIN - 50 g
- Regulärer Preis
-
€8,99 - Regulärer Preis
-
- Verkaufspreis
-
€8,99
Schnellansicht


Warum JESIN besser ist als Gießpulver
Echte Erfahrungen aus unserer Community: In wenigen Sekunden zeigen diese Reels, warum JESIN im direkten Vergleich zu klassischem Gießpulver überzeugt – einfach durchwischen.
-

Feinste Marmorierung – ohne Verwässern
Mit JESIN bleiben selbst feinste Adern und Details gestochen scharf – ohne das Verwässern, das bei klassischem Gießpulver typisch ist.
-

Sturztest bestanden – JESIN bleibt heil
Zwei Werke fallen auf den Boden: Das klassische Gießpulver zerbricht, das JESIN-Werk übersteht den Aufprall unbeschadet – ein deutlicher Beweis für die höhere Stoßfestigkeit.

Die Frau hinter JESIN
Hallo, ich bin Steffi - alias MRS.COLORBERRY
Ich habe JESIN erfunden, weil ich das Material, das ich mir wünschte, einfach nicht finden konnte. Nach Jahren als Fashion Managerin und Resin-Künstlerin habe ich es selbst entwickelt - Made in Germany, für kreative Menschen wie dich.
Giessen ist für mich eine der stillsten Formen des Gestaltens. Das Material übernimmt. Man kann es nicht hetzen - man kann es nur begleiten. Steffi, Gründerin MRS.COLORBERRYMeine Geschichte lesen
FAQs - eure Fragen, unsere Antworten
Was ist der Unterschied zwischen JESIN und klassischem Gießpulver?
JESIN ist ein einzigartiges Gießpulver das Gießpulver und Beton vereint. Im Vergleich zu klassischem Gießpulver härtet JESIN in nur 20 Minuten aus, ist bruchsicher, intensiv einfärbbar ohne Ausbluten und ungiftig. Klassisches Gießpulver ist oft spröde, schwer einfärbbar und braucht deutlich länger zum Aushärten. Außerdem hat es eine beachtliche Verarbeitungszeit von 20 Minuten, wo kaum ein anderes Gießprodukt mithalten kann.
Ist JESIN bruchsicher und langlebig?
Ja! JESIN ist deutlich bruchsicherer als klassisches Gießpulver oder Beton. Selbst filigrane Formen bleiben stabil, langlebig und belastbar – keine Risse, kein Splittern, kein Zerbröseln, auch bei häufigem Anfassen oder Transport.
Ist JESIN lebensmittelecht?
JESIN ist von Natur aus nicht lebensmittelecht, kann aber mit SHEA SEAL versiegelt werden – dann ist die Oberfläche lebensmittelecht. Bitte keine heißen Speisen darin servieren, da sich das Versiegelungswachs bei Hitze ablösen kann.
Wie lange ist JESIN haltbar und wie wird es aufbewahrt?
JESIN ist ungeöffnet ca. 18 Monate haltbar. Kühl und trocken lagern, direktes Sonnenlicht vermeiden. Nach dem Öffnen luftdicht verschlossen aufbewahren.
Kann man JESIN einfärben – und wie?
Ja, JESIN lässt sich intensiv einfärben ohne dass die Farben ausbluten oder fleckig werden. Am besten mit den speziell entwickelten LIQU-MENTS von COLORBERRY – einfach ein paar Tropfen (max. 5%) in die angemischte JESIN-Masse geben. Von Pastell bis Neon ist alles möglich.
Für wen ist JESIN geeignet – auch für Anfänger?
JESIN ist ideal für Anfänger und Fortgeschrittene. Kein Vorwissen nötig – einfach im Verhältnis 2:1 nach Gewicht mischen, in eine Silikonform gießen und nach 20 Minuten entformen. Mit dem kostenlosen JESIN Anfänger-Guide und den Video-Tutorials auf der Website gelingt der Einstieg sofort.
Wo kann man JESIN kaufen und wie schnell wird geliefert?
JESIN ist ausschließlich im offiziellen COLORBERRY Online-Shop unter mrscolorberry.com erhältlich und in ausgewählten Einzelhandelsgeschäften. Alle Bestellungen sind sofort versandbereit und werden in 1–2 Werktagen geliefert. Ab 60 € Bestellwert ist der Versand innerhalb Deutschlands kostenlos.