Hi to u!
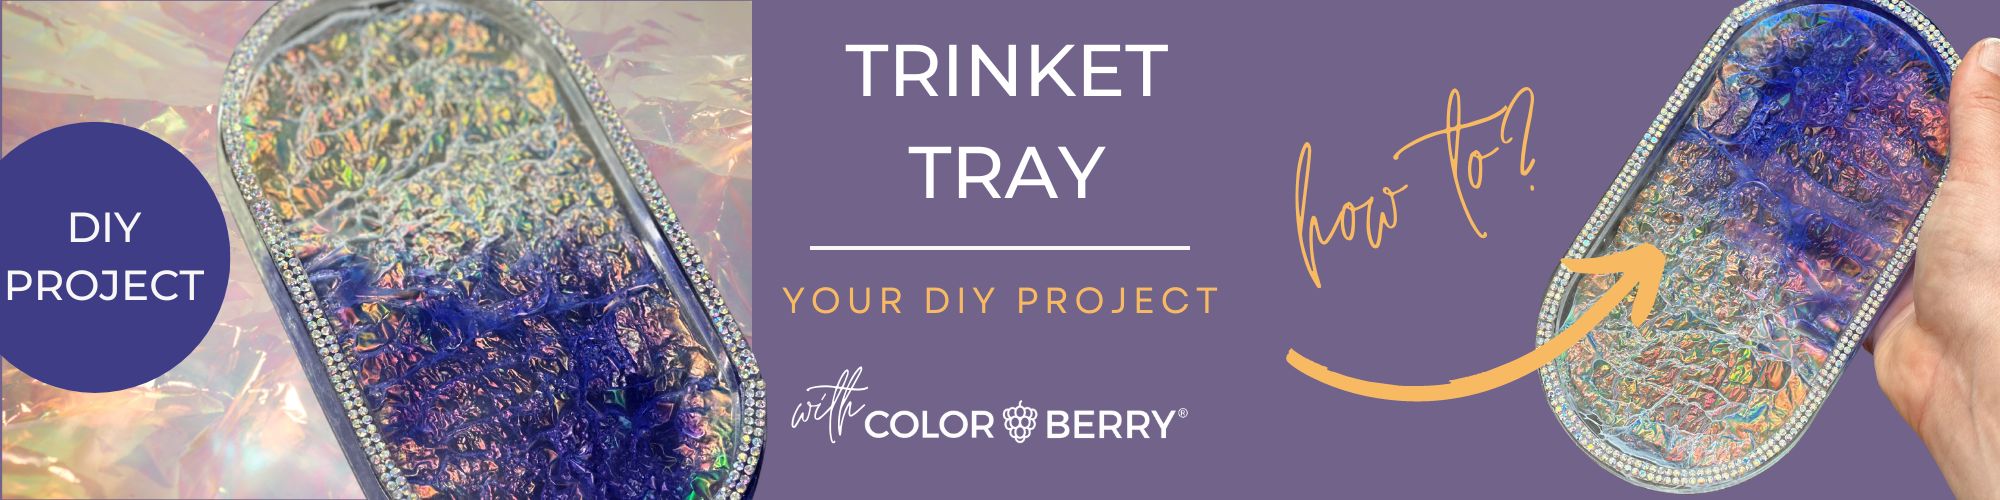
Welcome to my blog for "DIY HOME DECOR" with resin & JESIN. Today I want to show you how I made this beautiful resin trinket tray myself, so you can easily recreate it at home.

DIY projects allow you to express your creativity and put your individual ideas into practice. You can create your own designs, choose materials and customize the projects to your own taste. It's a great way to put your personal style and personality into the things you create. And today we are pouring a great trinket tray !
The reflection of the holographic foil in the tray is simply breathtaking and believe me, it was so hard to photograph the look. In real it looks 1,000 times better.
What is needed for this?
1) Silicone mold
2) Resin ( here I take the D-CAST RESIN)
3) holographic gift foil ( amazon - click to buy)
4) paint for resin ( here the LIQU-MENT MYSTERY )
5) scissors
6) Heat gun
First step
As mentioned above in the material list, I use the D-CAST RESIN from COLORBERRY, because in my opinion and experience it has a super low bubble development and also contains a "vent" for air bubbles, i.e. the air bubbles automatically rise to the top after some time.
Pour the resin now into the silicone mold, but only 50% of the height of the silicone mold - so please do not pour completely.

Second step
In a small cup, mix a little bit of resin with a color of your choice. Here I used the MYSTERY (LIQU-MENT from COLORBERRY). It looks totally dark in the jar, but when you mix it with resin (or even JESIN), this ingenious color really comes into its own.
I now pour this color mix on one side of the silicone mold - but you can do it as you like and you find it most beautiful.

Third step
Go over the resin in the mold once with the heat gun so that the bubbles on the surface disappear. Alernativ I can always recommend the BUBBLEBYE, because then removes the bubbles and cools the resin also in addition something. In addition, no additional vapors are generated.
Fourth step
Now let's move on to the most exciting part of the story: incorporating the holographic gift foils.
You put the foil (you can cut it a little bit before, so that it fits exactly into the mold) on the wet, not dried resin in the silicone mold and then take a heat gun (please really use a heat gun here and not a Bunsen burner or the BUBBLEBYE) and swing very carefully over the foil. The foil will eventually curl due to the heat of the hair dryer. THAT'S THE GOAL!
(please put on a mask depending on the foil, because you are knowingly burning plastic here and should not inhale it - if you are not already exemplary on the road anyway and have one on because of your resin).
Once you have achieved the desired effect, you can let it rest and let the resin harden with the foil.

Fifth step
Now, when the resin is almost cured ( about 12 hours), you can use scissors to cut off the remnants of the foil that are standing over the silicone mold. Now pour a final clear layer of resin over it!
Why you have to pour two times here and not do it at once? I can tell you: The foil is lighter than the resin and will float to your surface, so the trinket tray won't be 100% straight on your table. Sanding it down is very tedious here and hardly succeeds perfectly, because you will damage the resin by sanding and would need another layer to make it shine again. So rather cast 2 times and less stress, right?
sixth step
Now, when your trinket tray is completely hardened (I'm talking about the last layer of resin you poured), you can get it out of the mold!
WOW, right? This effect is just great.
What I have done here in addition: Rhinestones glued on the edge to make it even more unique. This is a can, but definitely not a must ;)

Thank you very much for reading this mini tutorial blog and I hope I was able to advertise you a little.
I go now in my atelier and work directly on my next project for you with which I can certainly inspire you again.
Yours
MRS.COLORBERRY